Team3S Logo, 5k jpg
New York - Munich - Portland - San Francisco - Seattle - Stockholm - Vancouver - Zurich


FAQ:  Headlights
Condensation & Peeling

Condensation Fix ('94)
Answers by Ron

Lexan Peeling ('95+)
Peeling Fix by Roger Ludwig


Red Gradient Line, 1k GIF

Condensation Fix


Q.>>>: 
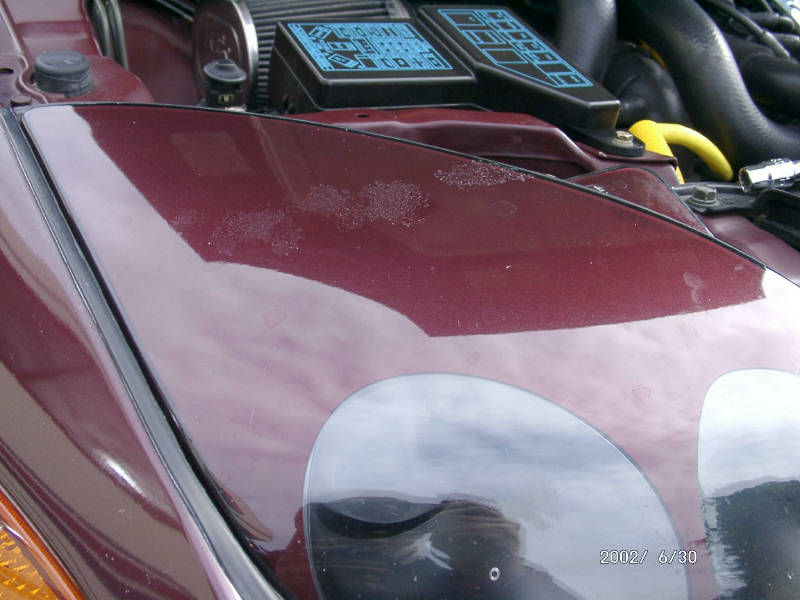
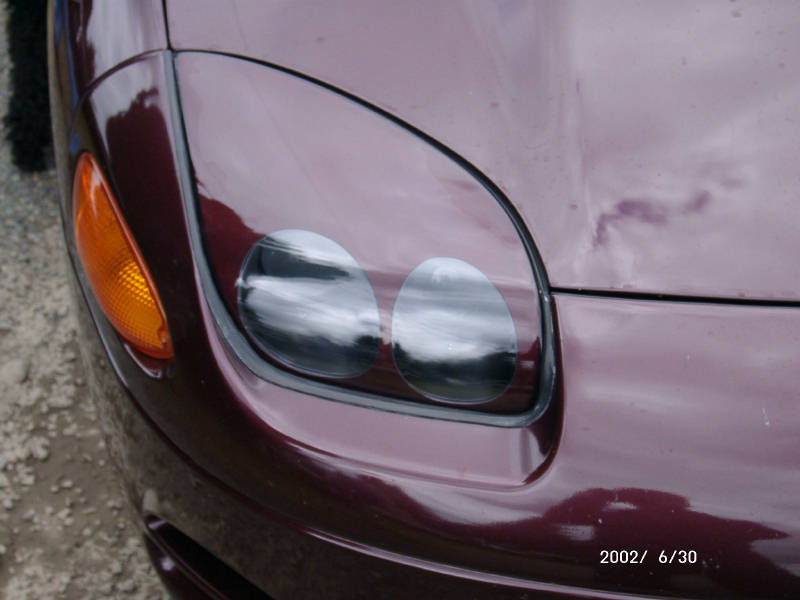
On my '94 3000GT the inside of the glass cover for the projection headlights has condensation.  I heard the lenses could be removed and cleaned inside, but the dealer says the assembly is a sealed unit.  The assembly can only be ordered complete at about $500 each with the Team3S discount.  A mechanic at the dealership told a friend of mine a while back that it could be done, but he is no longer there - I've asked the dealer recently about the procedure, but no one recalls a fix for it.  However there are stainless steel clips surrounding the enclosure which appear to hold the unit together.  I've tried to separate the unit but have been unsuccessful.  Has anyone successfully dismantled the headlight assembly on a '94 3000GT to clean behind the glass?  Also, if new ones are installed, are they just as prone to leaking as the old ones?
---Garth Lenberg


A.>>>: The '94s were (I believe) the only year you could get those headlights in glass.  The next year they switched to Lexan.  The Lexan lenses don't fog up, but are prone to scratching.  They are also colored differently- the glass ones have a colored insert whereas the Lexan ones are painted on the exterior.  OK.  Having said all that - yes, a few people have successfully pulled the glass ones apart.  They removed the few clips there are, and used a heat gun (or maybe even an hair dryer) to break the seal between the plastic body of the headlight and the glass.  Once apart, they cleaned off the condensation and resealed using some type of putty or ribbon that can be bought at auto paint supply stores.  (NOTE:  I imagine you can use Super Fast Urethane - a 3M product used to install windshields - but that stuff is PERMANANT.  It is VERY strong, won't melt, and you'd have to cut it to separate those parts again).  Anyway, as I understand it, the first one takes forever to get apart, but the second goes much easier as you get a sense of where the adhesive is and where you need to apply heat.  I've heard that the condensation comes back, as this was a design flaw with these headlights.  But, there are drip holes that are supposed to expel this water.  Someone siliconed those closed and (last I heard) hasn't had a reoccurrence of this problem.  ---Ron


Red Gradient Line, 1k GIF

Lexan Peeling


Q.>>>: 
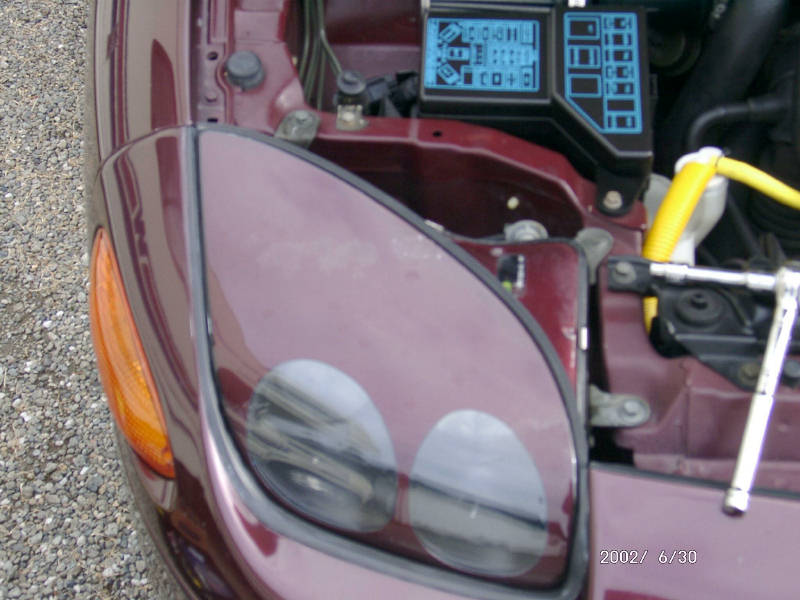
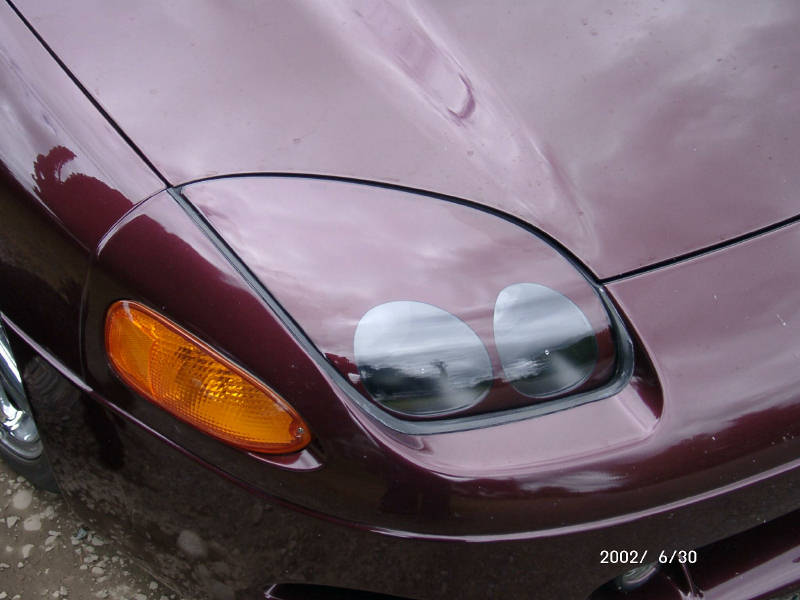
Both headlamp assemblies on my '95 Spyder appear to have a thin, clear, final layer on top of the (glass?  plastic?) that covers the lamp/red paint headlight assembly.  That layer is peeling.  Originally I thought it was the "Touch of Class" paint treatment (like permaplate) peeling (figuring they had applied it to the headlamps), but I took it to an independent detailer who said it wasn't the treatment.  He said that he couldn't fix it, so I tend to believe him, but I suppose he still could be wrong.
Have you guys ever seen this?  I saw something in the Team3S FAQ about headlamps peeling and showing condensation (see above), but that is internal (that sucks) and seems to only apply to the 1994 headlamps.  My peeling is definitely on the outermost layer.  Any suggestions/ideas?  Any ideas suggestions for cleaners/solvents I could use to strip it?  I don't mind taking a chance on just removing the layer because I figure that whatever the cause is, that peeling layer needs to go or both entire headlamp assemblies need to be replaced, so what have I got to lose? I want to detail the car soon, but I want to take care of this first... Thanks!   ---Fred Hamilton


A.>>>: I have a complete fix for this.  I don't have time to detail it right now, but here is my repair job, in pictures.  ---Roger L.  "F15DOC"


{click to enlarge image}

Step1-Pre-Repair:  Note the bubbled lexan.


{click to enlarge image}

Step2-Pre-Repair-2.


{click to enlarge image}

Step3-Refinish Kit:
Before this kit I used 200 grit, then 400, 600,
and 800 grit sandpaper.  It looked terrible.


{click to enlarge image}

Step4-Refinish Kit:
But then I used this 4-step kit, which finishes
with 18,000 grit and left the lexan clear!


{click to enlarge image}

Step5-Finish Results1:
After Repair -- Amazing!!!
Sanded, refinished Lexan headlight cover

{click to enlarge image}

Step6-finish Results2:
A clean job, that turned out nice!
Clean and Perfect!


Red Gradient Line, 1k GIF


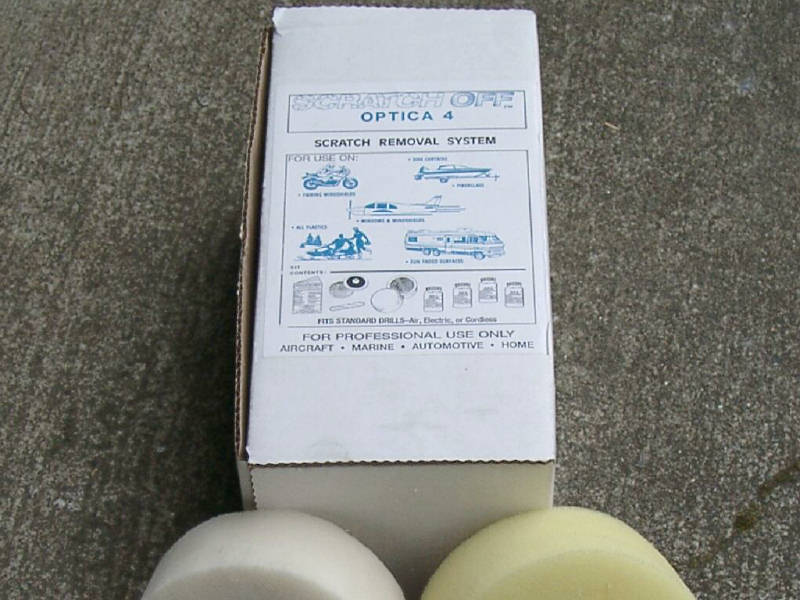
Fogged Lexan - Addendum

The best thing I have ever found for cleaning up plastic surfaces is the Micromesh Polishing Kit.  We have used it on military helicopter lexan and plexiglass windows for years.  It can turn a cracked and crazed piece of plexiglass into a fresh, clear-looking piece in no time..., with just a little "elbow grease".  [Yes - you will have to rub a lot!]  Even after you do this, it's a good idea to use some McGuire's Plastic Polish to condition the plastic from time to time.  It helps to keep the plastic "moist", and helps to avoid the hazing and peeling.

Here is the link...
Micromesh Polishing Kit


---Shawn


Red Gradient Line, 1k GIF

Questions about your car???
Ask the other owners--
On our FREE mailing list!
Click HERE

Red Gradient Line, 1k GIF


3D & Ram Logo anim, 6k GIF


Team3S FAQ Page


Team3S HOME


Headlight Images © 2002-2004 Roger Ludwig, All Rights Reserved.
Team3S Images © 1995-2004 Bob Forrest, All Rights Reserved.